Micromill backlash measurement
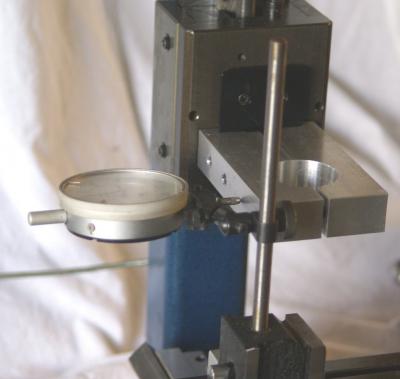
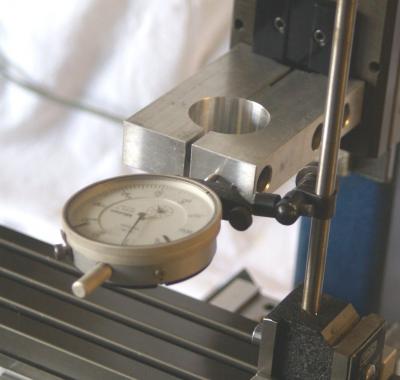
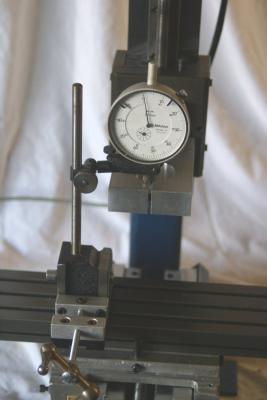
Simply mounting a dial gauge on the bed and measuring the movement on each axis provides a reasonably acurate measuer of backlash.
All three axies can be checked with just a simple plunge dial gauge. The one in use here has 0.01mm steps on the dia and so is ideal for a metric setup. It has a 5mm of free movement, and so can work with large swings as well as small. The step jog mode can be useful for checking and adjusting the backlash. I normally start with the jog step set to 0.1mm and jog back and forward a few steps, when one changes direction, the difference in step can be adjusted on the backlash table. Once happy with small steps, the jog is switched to 1mm and gives a full swing of the dial, hopefully returning to the same point which eever way you go. Within 0.1mm is about the best to expect, and one can se a little variation simply due to the stepper motor step size.
On the current rebuild, we achieved very good readings on X and Z of 0.01mm and 0.02mm, but Y was a little disapointing at 0.08mm. Having dropped the Y Axis off and checked the leadscrew, it did not seem to be any looser than X, but it would appear that the stepper motor coupling needs a new set of tubes - which I did not have to hand. We will replace these and recheck Y before returning the machine to site. I was expecting something in the 0.01 to 0.05 range, and while 0.08mm is not a problem ( the machine was running with 0.2mm on Y ), anything that reduces this will give a longer run before readjustment is needed.
If one is carrying out work that requires a fine tollerance, then the backlash should be checked regularly, and then one will know what state the machine is in, and can look to adjust things when they drift too far. It does not take long to drop on a dial gauge and run a quick set of checks.


